Knowledge base article
Download or restore individual files, directories or database backups with JetBackup
This guide will walk you through using the JetBackup to download or restore files, directories or databases and more!
There are the following types of backups available to download or restore: Database, Individual File or Directory, DNS zone, Email, Cron Job, SSL Certificate and Full Account Backups.
The process to restore or download backups is more or less the same for each type so this article will only cover some of the JetBackup functions to help you become familiar.
To begin, please login to your cPanel account. If you have forgotten your cPanel credentials, they were included in the original Welcome to Serversaurus or IMPORTANT: Hosting Documentation email which you should find in your inbox otherwise follow these instructions on how to update your cPanel password.
Please take note: JetBackup will not restore or backup files stored beneath a directory labelled tmp - this is because directories labelled tmp are typically used for temporary file storage only, unfortunately if a plugin or theme has been poorly developed, developers may label a directory tmp which does store scripts or configurations. If you find this problem with a plugin or theme post restoration, you will need to install a new copy of the plugin or theme to reinstate the files under the tmp directory.
Download/Restore a Database Backup
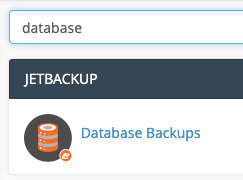
- Use the find bar to locate the Database Backups function

- You will see a list of all available backups of your database(s). Locate the backup required and select Restore, if you want the database backup restored for the live site or select Generate Download to receive a compressed database backup.
Download/Restore Individual Files or a Directory backup
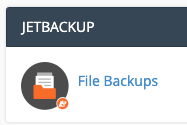
- Use the find bar to locate the File Backups function

- From the list of available backups, choose which date you want to restore or download from, then select File Manager to the right of the chosen backup
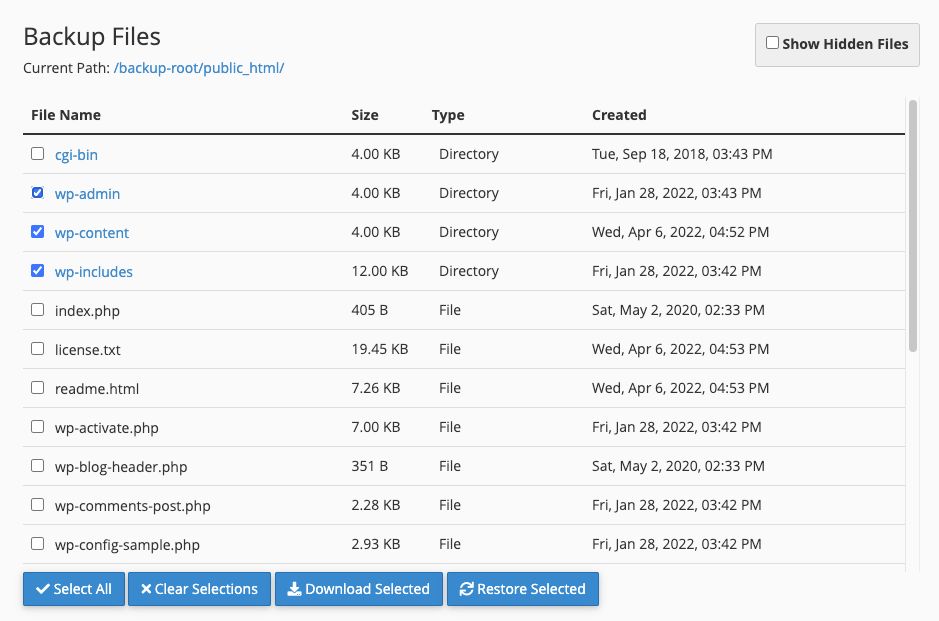
- Navigate the directories to locate the files/directories you require, use the left hand side check box to select files or directories

- Once you've completed selecting files and directories, you can select Download Selected to download a zip of the files, or Restore Selected for the files to be restored to the website immediately. The status of Downloads and Restores can be viewed on the right hand side or you can visit the Jetbackup Queue function, which shows all pending tasks.
Download/Restore a Full Account Backup
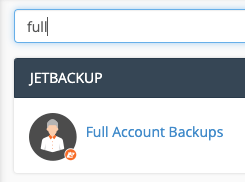
- Use the find bar to locate the Full Account Backups function

- From the available backups, locate the preferred backup creation date, then select Restore or Generate Download depending on your preference.

Keep in mind, Restore will automatically restore the full account, this process can take awhile depending the size of your website, so please be patient during the restoration. Generate Download will download the backup to your cPanel, where you can then download the backup locally.
Check the status of downloads or restorations
To check the status of any backup or restoration tasks, go to the Queue function in cPanel which displays a list of all tasks with their current status.
Published June 4, 2020. Last updated November 30, 2023.
Can't find what you're looking for?
"*" indicates required fields